
How to sharpen a blurry image online (free) without ruining detail
How to sharpen a blurry image online for free: identify the type of blur, start from the best source, test an AI sharpener, and avoid halos and fake detail.
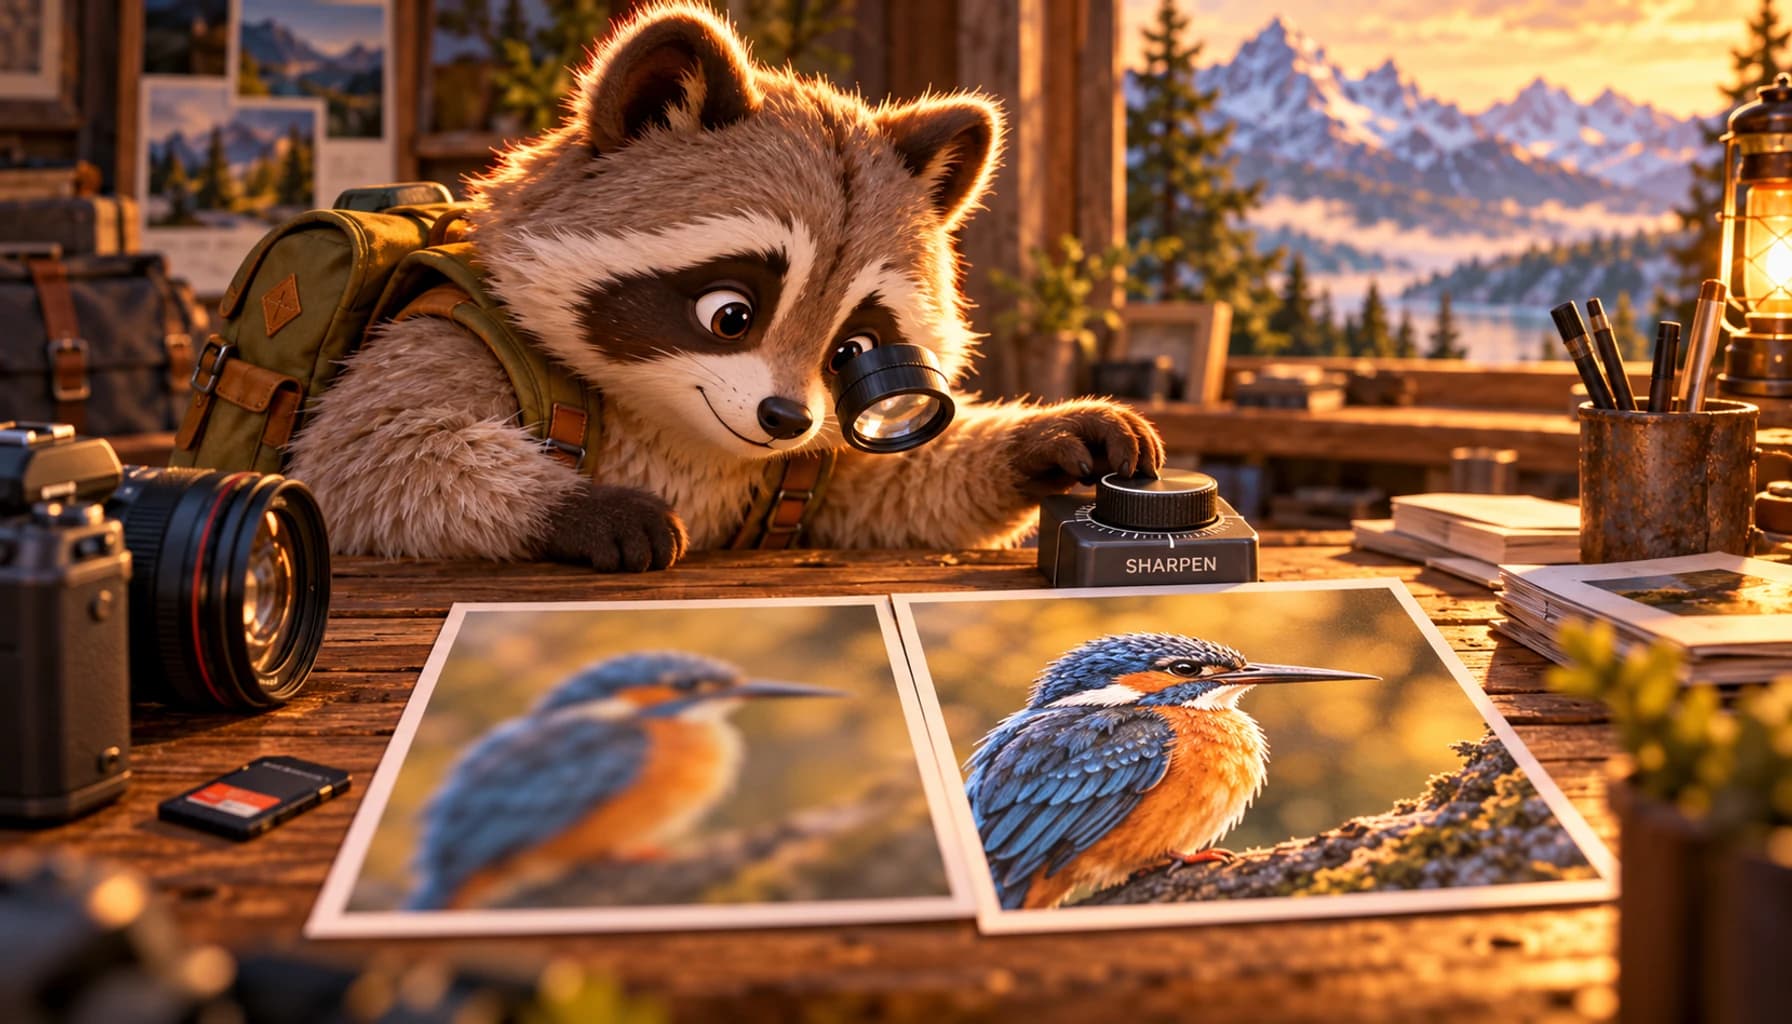
Sharpening can make existing edges easier to see, but it cannot reliably recover every detail lost to motion, missed focus, heavy compression, or a tiny source file. Work from the original, preview faces and text at full size, use the lightest effective setting, and keep the untouched image.
You can sharpen a blurry image online for free when the blur is mild, such as slight focus softness or compression, but no tool can recover detail the camera never captured. A blurry image is not one problem. The camera may have focused behind the subject, the subject may have moved, the file may have been enlarged too far, or a messaging app may have compressed it. Each failure removes different information, so the same sharpening setting will not rescue every photo.
Online AI sharpeners can improve edge contrast and sometimes reconstruct a plausible-looking result. That can be useful for a product screenshot, an old photo, or a social image, but reconstructed detail is still an estimate. Important evidence, identity documents, and medical or legal images need a more cautious workflow.
Identify the kind of blur first
- Slight missed focus: edges look soft in every direction. Gentle sharpening may help.
- Motion blur: edges trail in one direction. A specialized deblur model may work better than ordinary sharpening.
- Low resolution: shapes are recognizable but small details are absent. Upscaling can make the file larger, though generated texture may not be authentic.
- Compression: blocks, ringing, or smears appear around detail. Reduce artifacts before adding strong sharpening.
- Noise: grain is mistaken for detail. Denoise carefully before sharpening or the grain will become harsher.
Start from the best available source
For a landing page or launch gallery, start with the original product photo or a fresh screenshot exported at the required dimensions. Re-capture interface text, charts, and logos before trying AI enhancement: a sharper image is not useful if it changes a price, label, or feature. Use sharpening for soft photographic assets, then check the result in the actual page or social preview.
Use the original camera file or export whenever possible. A screenshot of a compressed preview has already discarded information. Crop only after deciding the output size, and avoid repeatedly saving a JPEG during the edit because every generation can add artifacts.
- 1Duplicate the original and note its pixel dimensions.
- 2Choose the final use, such as a 1,200-pixel article image or a small profile photo.
- 3Correct exposure and obvious noise before sharpening.
- 4Generate a mild version and compare it with the original at 100 percent zoom.
- 5Export once in the format and dimensions the destination needs.
Image Sharpen: test a quick browser-based enhancement
Image Sharpen offers browser-based AI sharpening, unblurring, enhancement, and upscaling without requiring signup. Try it on a duplicate, then compare fine hair, skin, lettering, and object edges at full size before treating the enhanced version as final.
Watch for the signs of over-sharpening
The processed image may look impressive while zoomed out and artificial at its real display size. Bright or dark outlines around objects, crunchy skin, doubled letters, invented eyelashes, and repeated texture are signs that the model is pushing beyond the source.
| Check this area | What failure looks like |
|---|---|
| Faces | Waxy skin, changed features, or invented hair and eye detail |
| Text and logos | Bent strokes, doubled characters, or altered brand shapes |
| High-contrast edges | White or black halos around the subject |
| Background texture | Repeating patterns or detail that was not in the original |
| Shadows | Noise becoming more visible than the subject |
- Check this areaFaces
- What failure looks likeWaxy skin, changed features, or invented hair and eye detail
- Check this areaText and logos
- What failure looks likeBent strokes, doubled characters, or altered brand shapes
- Check this areaHigh-contrast edges
- What failure looks likeWhite or black halos around the subject
- Check this areaBackground texture
- What failure looks likeRepeating patterns or detail that was not in the original
- Check this areaShadows
- What failure looks likeNoise becoming more visible than the subject
Protect private images before uploading
An online tool receives the file unless it explicitly processes everything locally in your browser. Read its current privacy and retention terms before uploading faces, client work, private documents, location clues, or unreleased product material. Remove metadata when appropriate and use an offline editor when the image should not leave your device.
The bottom line
A good sharpened image looks clearer without drawing attention to the processing. Begin with the best source, match the method to the blur, inspect the areas where generated errors matter, and stop before stronger becomes stranger.
Frequently asked questions
Can AI make any blurry image clear?
No. It can strengthen edges and generate plausible detail, but information lost to severe motion, missed focus, compression, or very low resolution may not be recoverable accurately.
Should I sharpen before or after resizing?
Do corrective work from the best source, resize for the intended output, then apply a light final sharpen while judging the image at its actual display size.
How can I tell whether sharpening went too far?
Look for halos, crunchy texture, distorted text, changed facial features, amplified noise, and detail that appears repeated or invented. Compare against the original at full size.
Launch the tool people can understand at a glance.
DanielLaunches gives useful products a permanent page, public results, and a launch you can measure.
Get my roadmap